

How To Draw A Rose How To Draw A Cross
Some of the best ways to learn new drawing techniques is by utilizing drawing tutorials and practicing with simple shapes until the piece is at its best. Describe a rose step-by-step with this tutorial that begins with your first line and ends with tips on coloring and shading the flower. Artists of all levels are invited to piece of work with this guide to learn how to draw roses and create the best rose drawing one's always seen. Follow forth through the simple steps and guidelines below to perfect ane of the world'southward virtually popular flowers.
Stride 1: Finding Inspiration for Your Rose Cartoon
Familiarize yourself by looking at a picture of a rose or a rose itself. Study the way the petals surround the bud and how they open upwardly at the ends.

Step Two
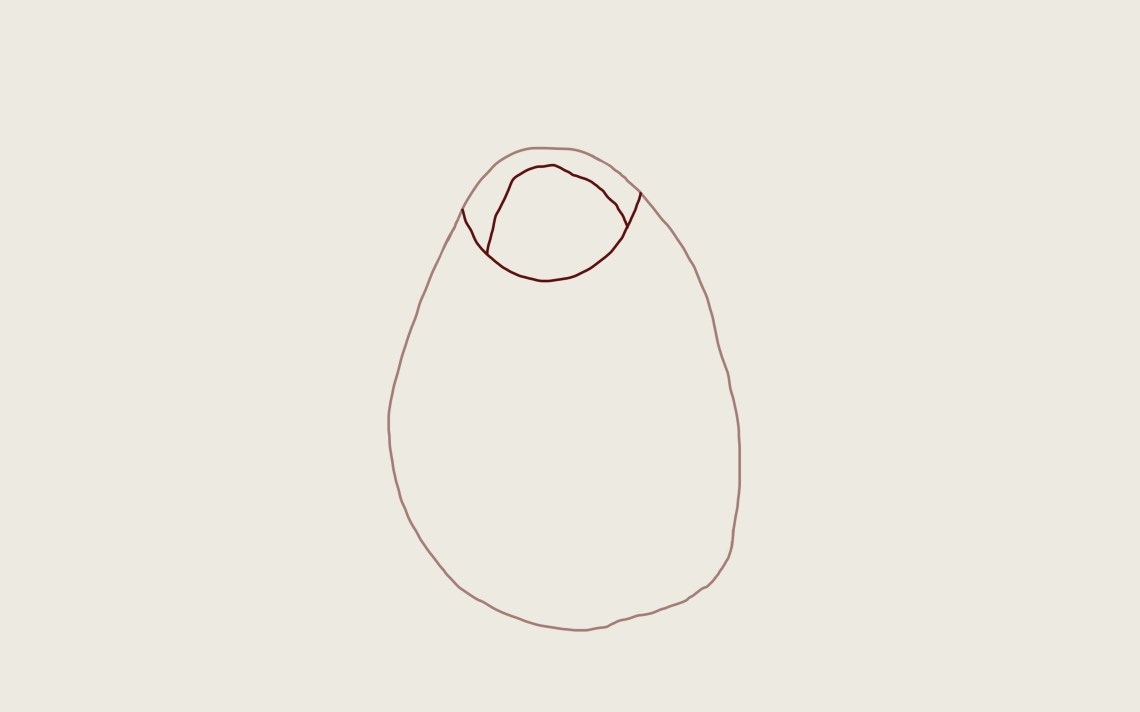
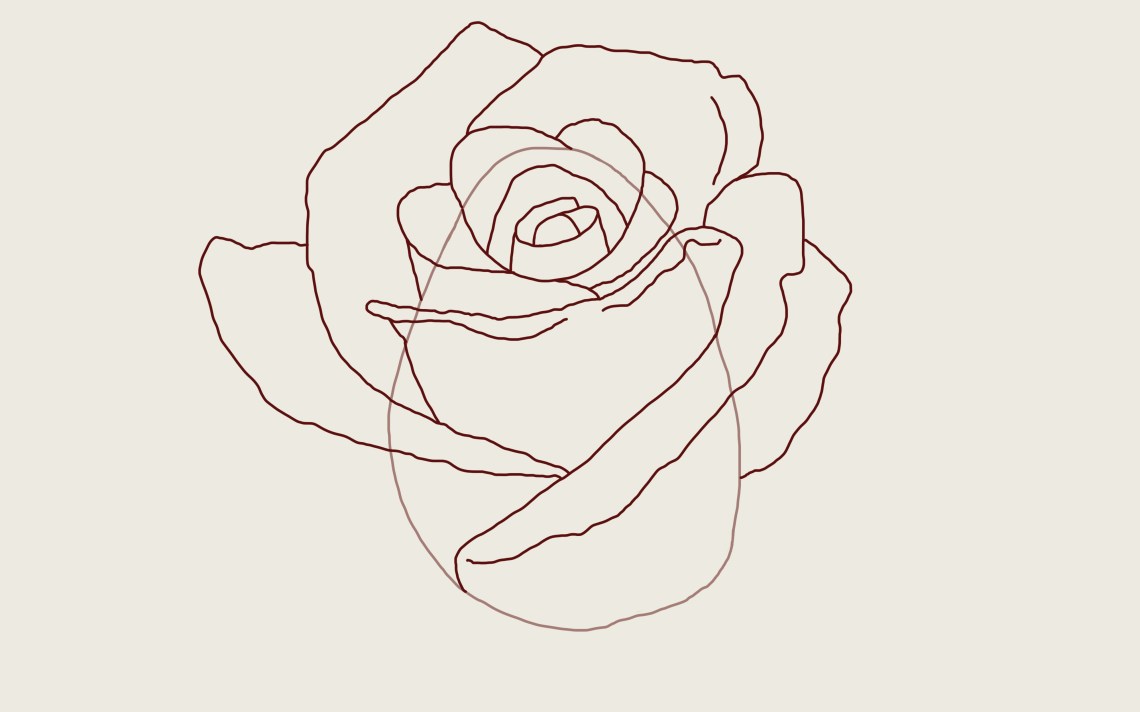
Draw an oval shape that's more than narrow on the top. Information technology should look like an egg and this will serve as your "skeleton."

Pace Iii
Adjacent, describe a short curved line at the very top of the "egg" that resembles a grinning.

Footstep Four
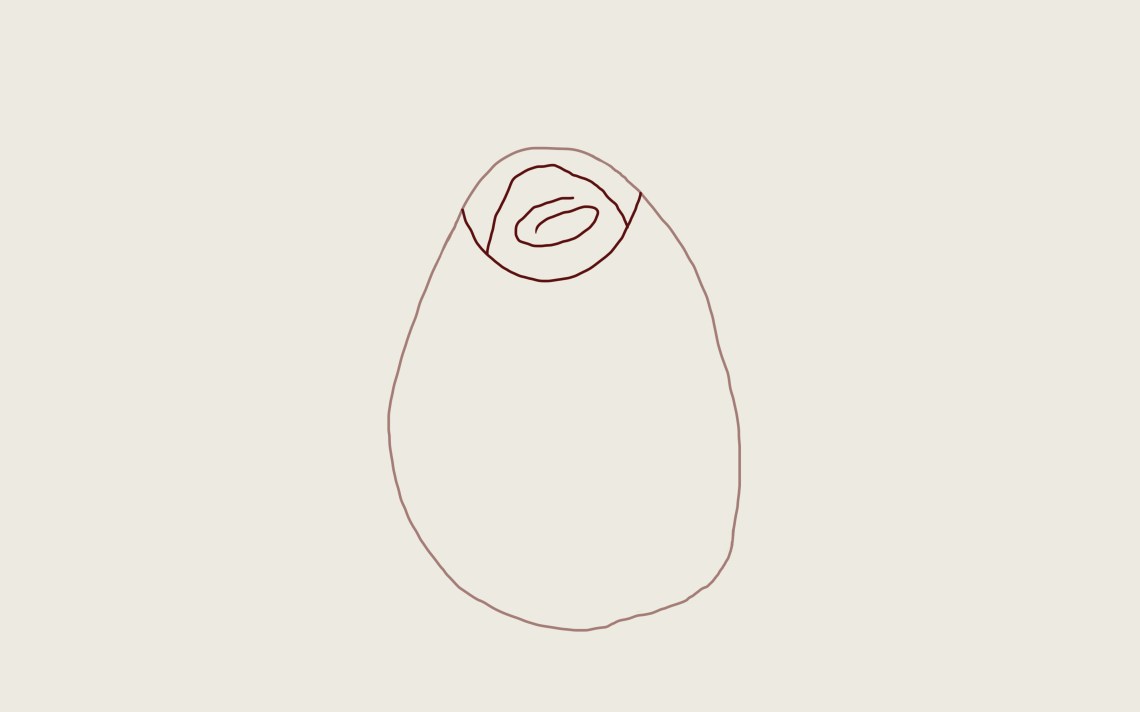
Draw another smaller upside-downward curve at the top of the egg. These two lines connecting resemble a sort of eye shape.
Step Five
Draw a screw shape within the small eye-shaped space at the meridian of the egg.
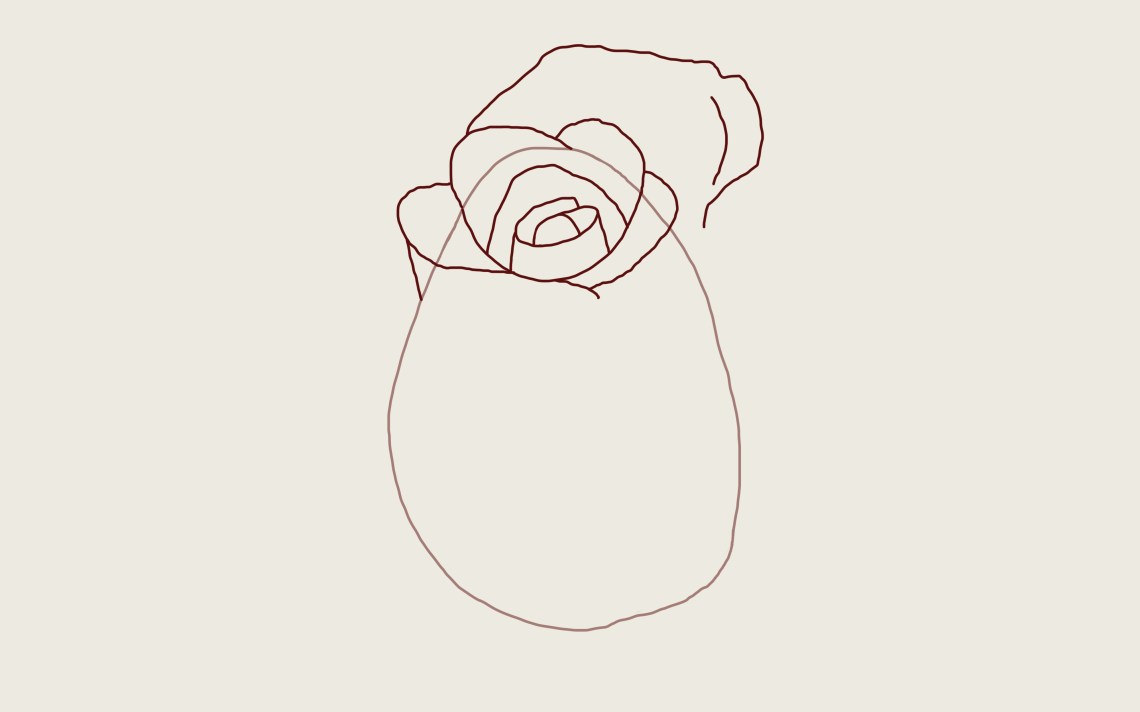
Step Six: Drawing Petals
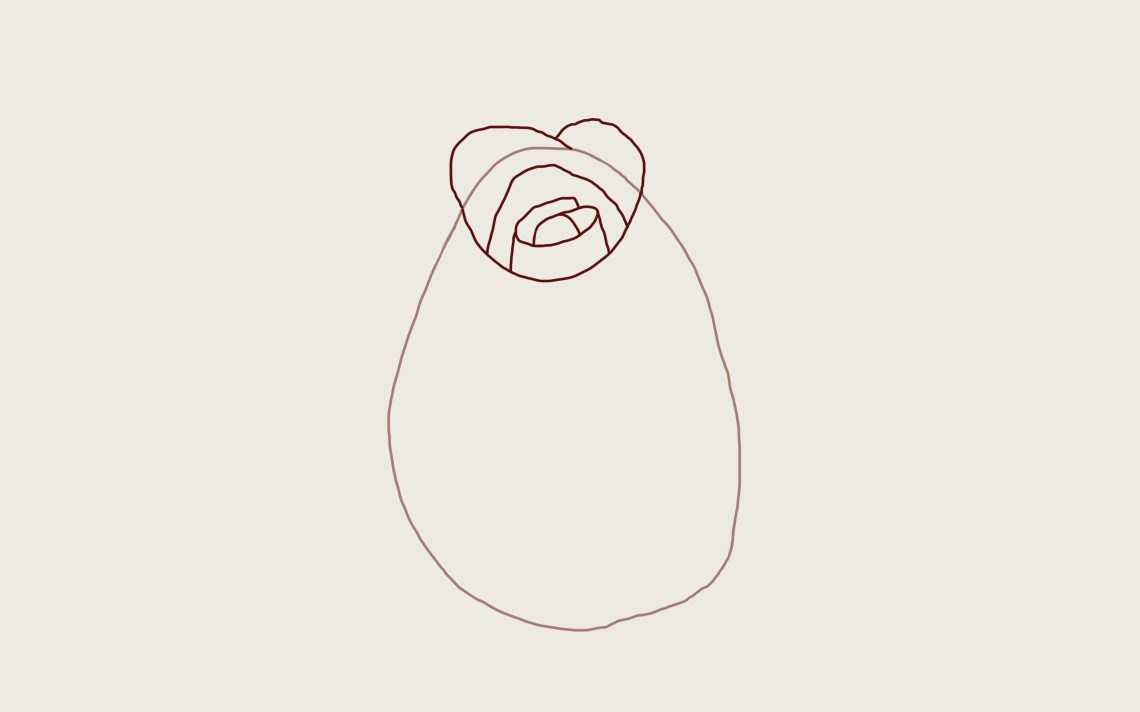
Draw lines from the spiral shape starting at iv distinct points that come across the smiley-faced curve right beneath the spiral. These are your innermost petals at the rose eye.

Footstep Seven
Draw few petals that resemble a heart shape bordering your innermost petals. Use your smiley-faced curve as the bottom of your eye and go far so that the ii humps of your eye see in a point at the top of the egg.
Step Eight
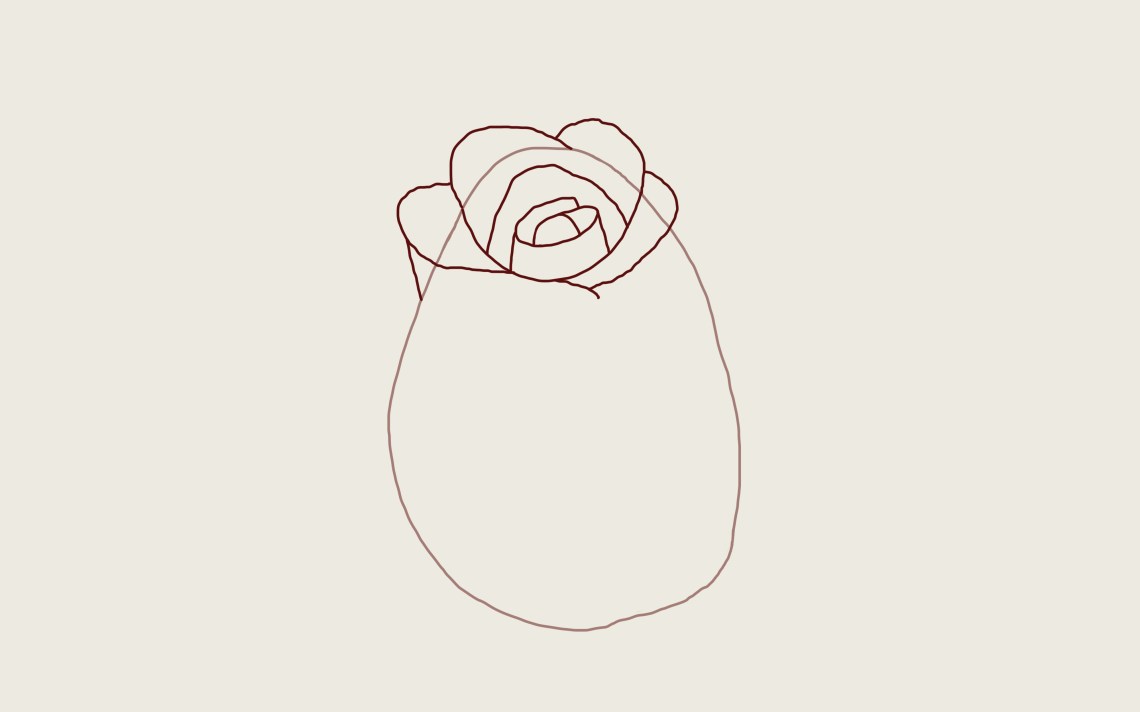
Draw two more petals, like a heart fully encircling the inner petals. Then add a line from the left petal (the lefthand half of your wider heart) to the outer egg.
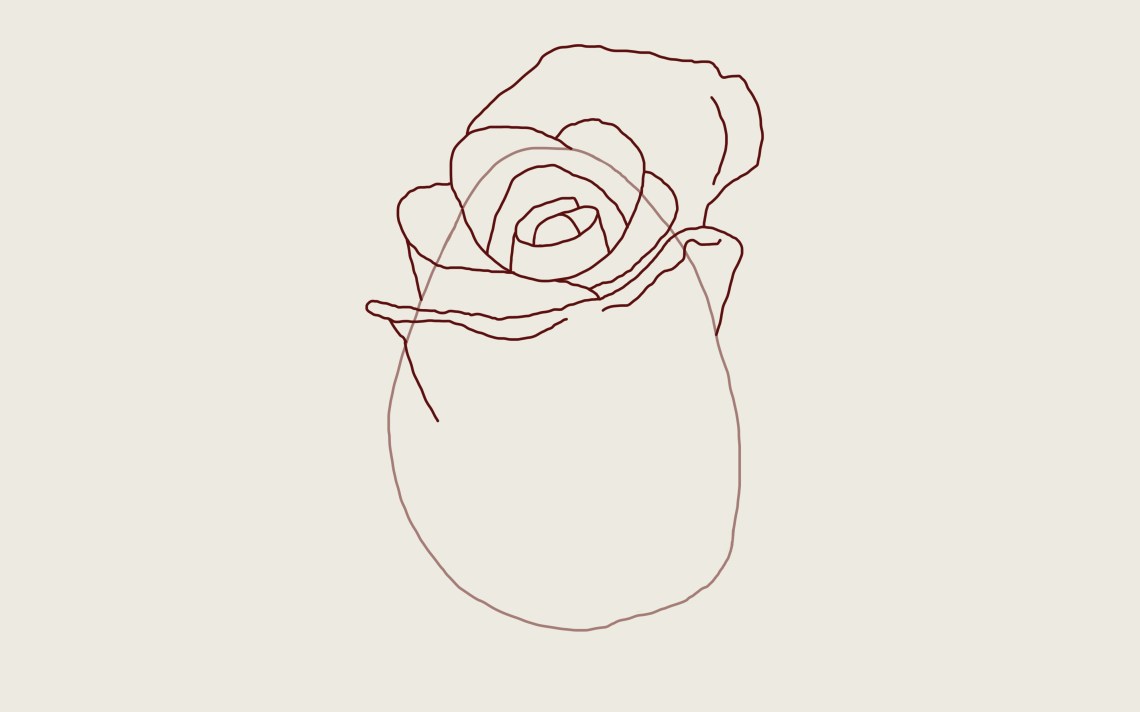
Step Ix
Depict the outermost back petal.
Step Ten
Then, add together another petal, swooping the front end of your egg and touching the wider eye at its bottom signal to add more dimension to the flower.
Step Xi
Now describe the second back petal.
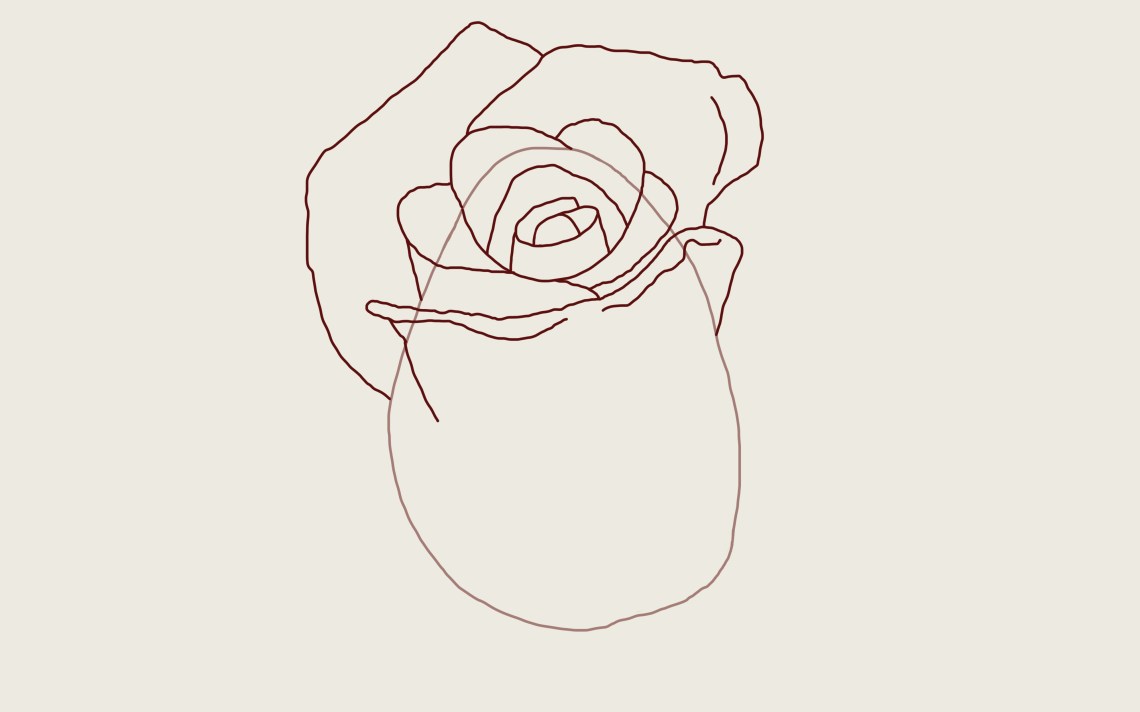
Footstep Twelve
Draw the next petal that swoops down the front of the rose diagonally. Think of this equally the v petal.
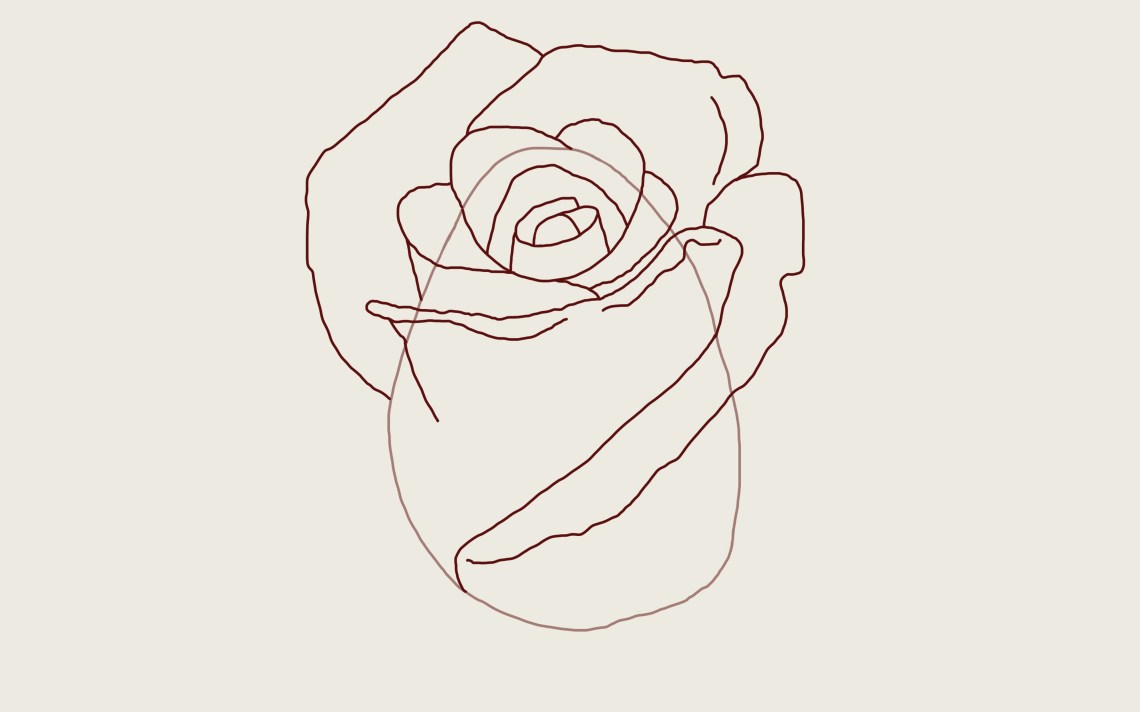
Pace Thirteen
Complete the v by adding the petal which connects to it.

Step Fourteen
Feel free to add together another petal peaking out the back. Nature is sometimes asymmetrical!
Stride 15
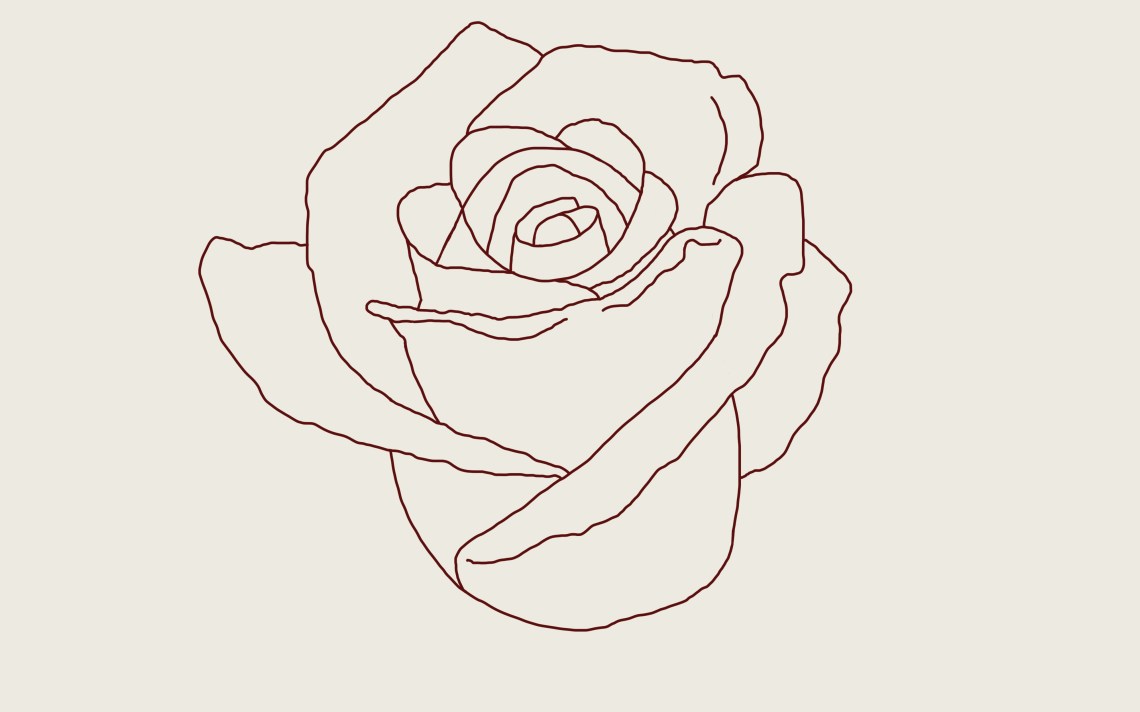
Clean things up by erasing the "skeleton" lines, otherwise known equally the light lines that helped shape the drawing and other petals. Below is your image with skeleton lines.

Below is your epitomewithoutskeleton lines.
Footstep Sixteen
Depict some leaves at the very bottom of your rose.
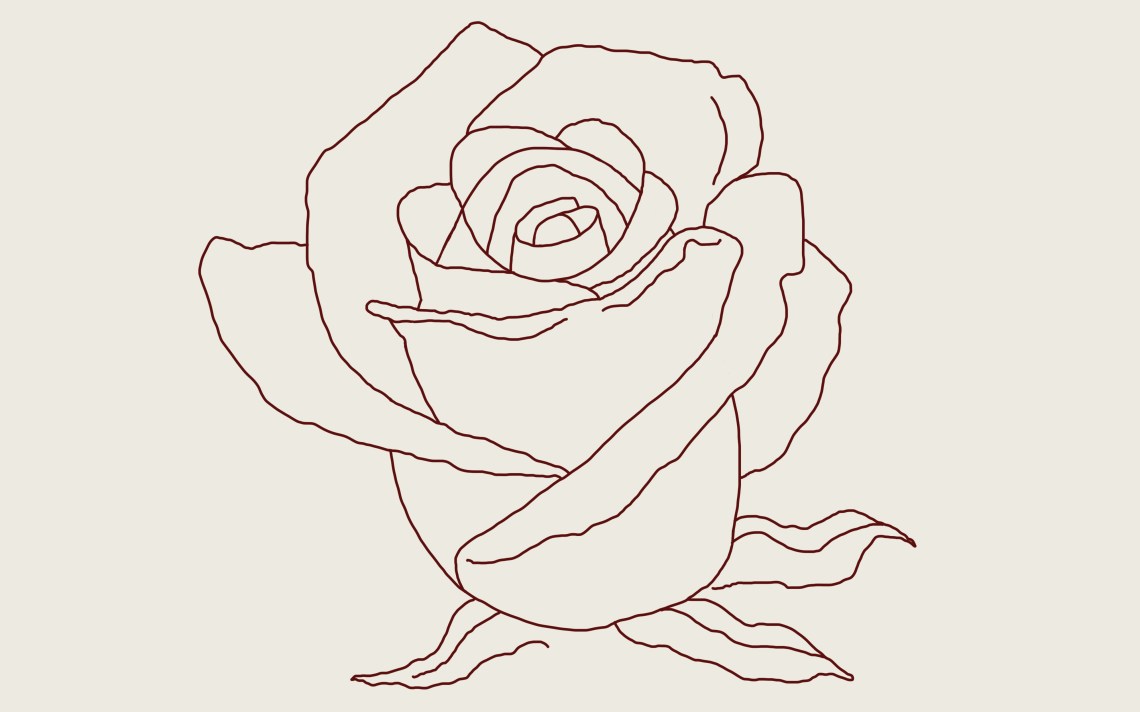
Step Seventeen
Connect your leaves with the bud that volition eventually serve as your stem connector.

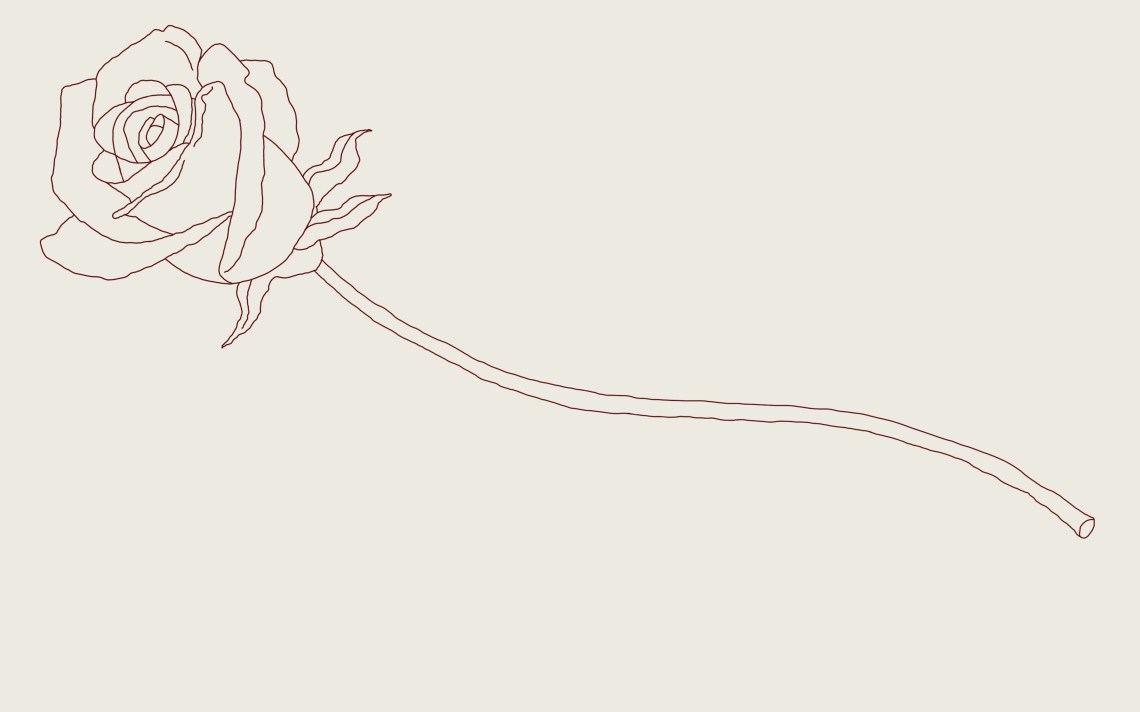
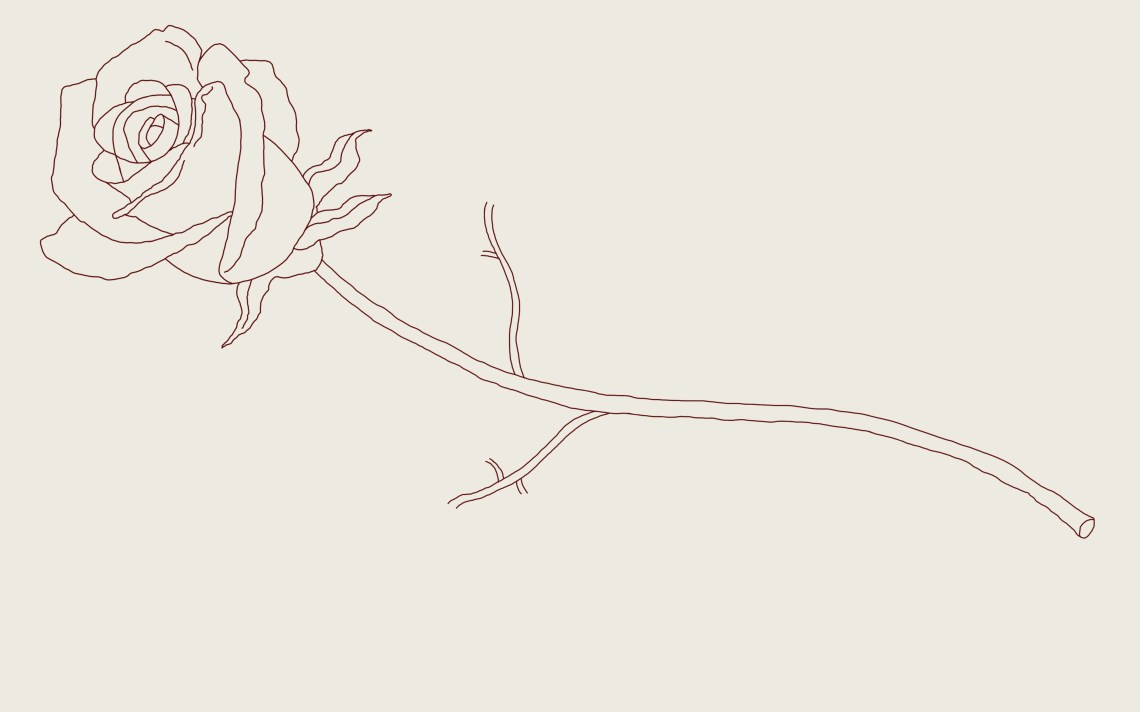
Step 18: The Stem
Here comes the stem! Draw an "S" shape and join it to your stem connector.

Stride Nineteen
Then come the lesser of the stem, a very small oval (or egg).

Step Twenty
Draw the same thing, another south shape, underneath the kickoff one, connecting it to the other side of your tiny stem "egg."
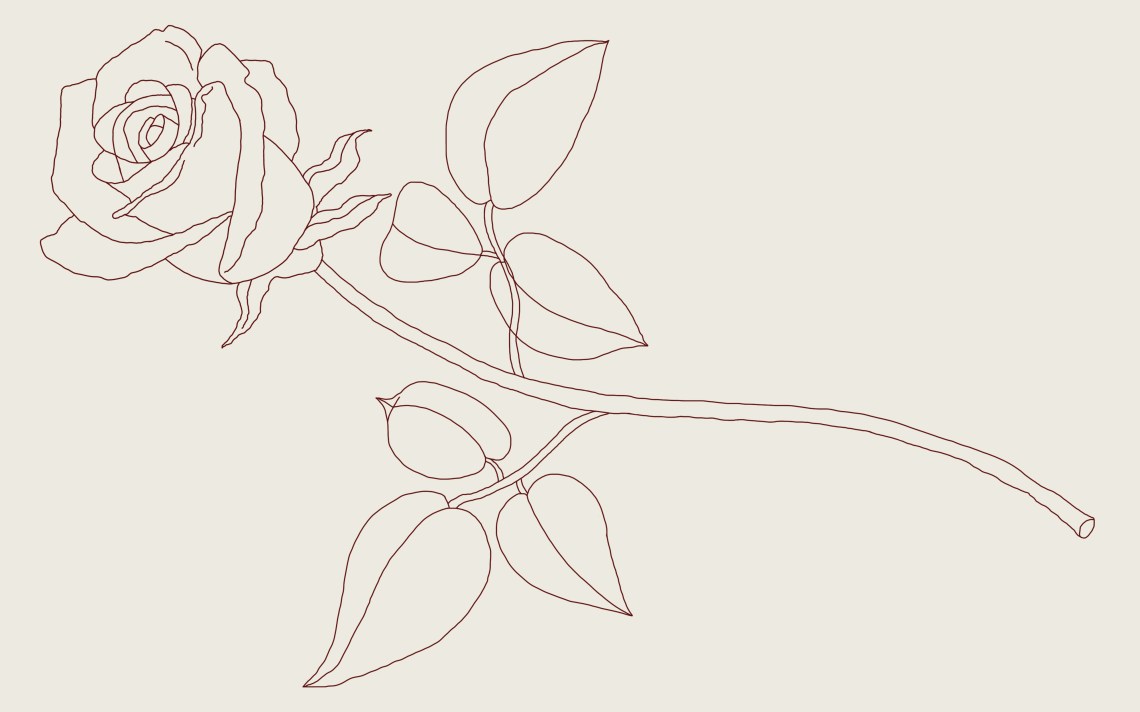
Footstep Xx-One
Allow's depict some more s shapes growing out of our stem for our leaves.
Stride Twenty-Two
Depict center-shaped leaves that connect to your s shapes.
Stride Twenty-Three
I like to draw "ridges" on the exterior of my rose petals to add more than shading and texture to the flower drawing.
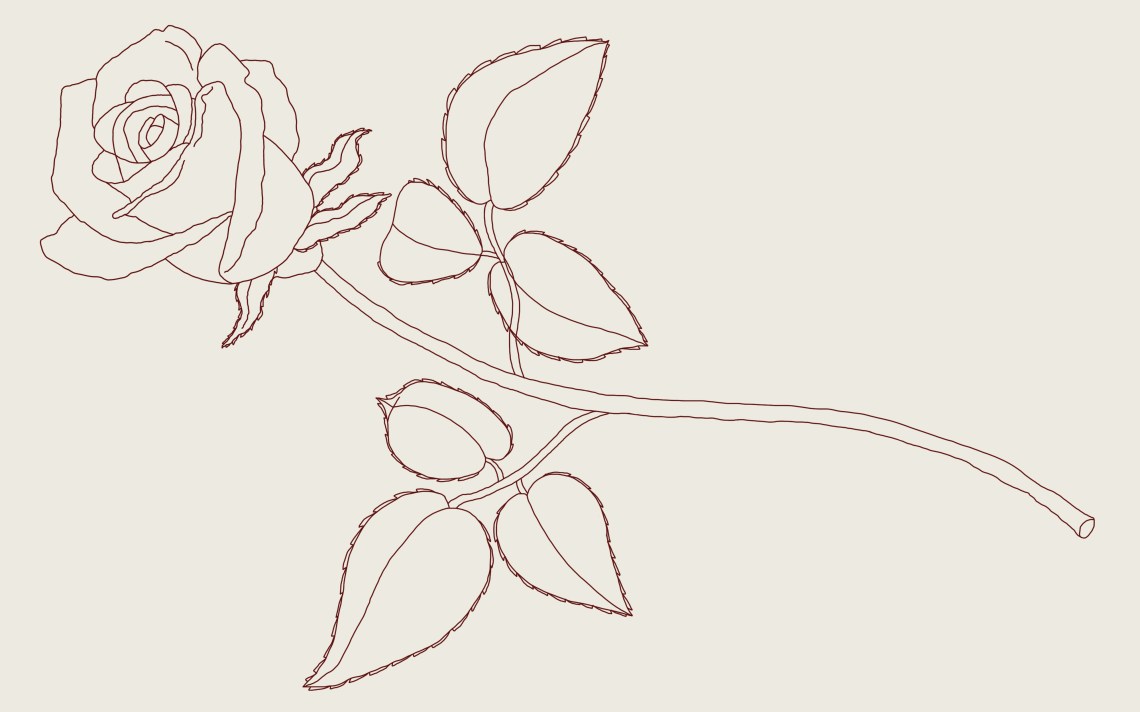
Footstep Twenty-Four
Upwardly next are the prickly thorns.

Pace 20-Five
Clean up by erasing the "skeleton" lines on your stem/leaves.

Step Twenty-Six
Feel free to add together some fun veiny leaf item! This can add some more interest and texture to the rose.

Step Twenty-Seven: Add Some Color
Finally, here comes the fun role. Color your rose! Add some shadow! And voila! You are done.

Rose Drawing FAQ
Common questions and answers from artists effectually the world.
Why can it be difficult to draw a flower like a rosebud?
The three-dimensional perspectives required to draw a flower or rosebud like the one in this tutorial can be challenging. Yous need to think through the various rose petals and how they work together to complete the actual flower head itself. This step-by-step tutorial should make a simple rose drawing easy.
Should I add shading to my image?
Yous certainly can. Try starting with lite shading first then adding in shading equally you get. Call back nigh the perspective of the actual flower itself and the shape of the flower, then call up nigh where yous might run across shadows in existent life.
What can I use this drawing for?
You lot could brand custom cards for Female parent's Day or peradventure Valentine's Twenty-four hour period. These are just some ideas.
Tin I use colored pencils to depict this flower?
You lot certainly can. Merely effort to use a dark pencil to describe the blossom, like in this tutorial. There are many ways to draw a rose, try to have fun with it. Be creative and explore what works for yous.
Why am I having a hard time drawing a rose?
Information technology'due south okay! Information technology'due south not easy. Have your fourth dimension and go along practicing. Drawing a realistic rose can be a feat for beginners and intermediates. Endeavor to have your time and become slowly, start pocket-size, and then increase your complexity of the rose as yous go.
What paper should I utilise?
Heavy menu stock paper is great to utilize. Or construction newspaper. Try not to utilise printer paper as it will be hard to piece of work with. And doesn't look as great when y'all draw flowers on it.

Source: https://thoughtcatalog.com/daniella-urdinlaiz/2018/07/how-to-draw-a-rose/
Posted by: griffinfloont.blogspot.com
0 Response to "How To Draw A Rose How To Draw A Cross"
Post a Comment